Here is a fun holiday project you can make for yourself or as a gift.
I am always on the lookout for things to fix up, make over or personalize. I was in a drugstore last week and came across these nutcrackers. Nutcrackers have been made to be all kinds of things and make them perfect for gift-giving and collectinng. They can become movie characters, sport figures, animals, or representatives of countries, hobbies and occupations. They are the perfect item to personalize for your own holiday decor or to give as a gift. In this tutorial I will transform a three-pack of small 3-inch nutcrackers and one large nutcracker with Creative Paperclay and some acrylic paints. Here is a list of supplies to gather.
- I package of Creative Paperclay
- acrylic craft paint
- paintbrushes
- container of water
- gesso
- Fabritac or other basic glue
- aluminum foil (optional)
- varnish (optional)
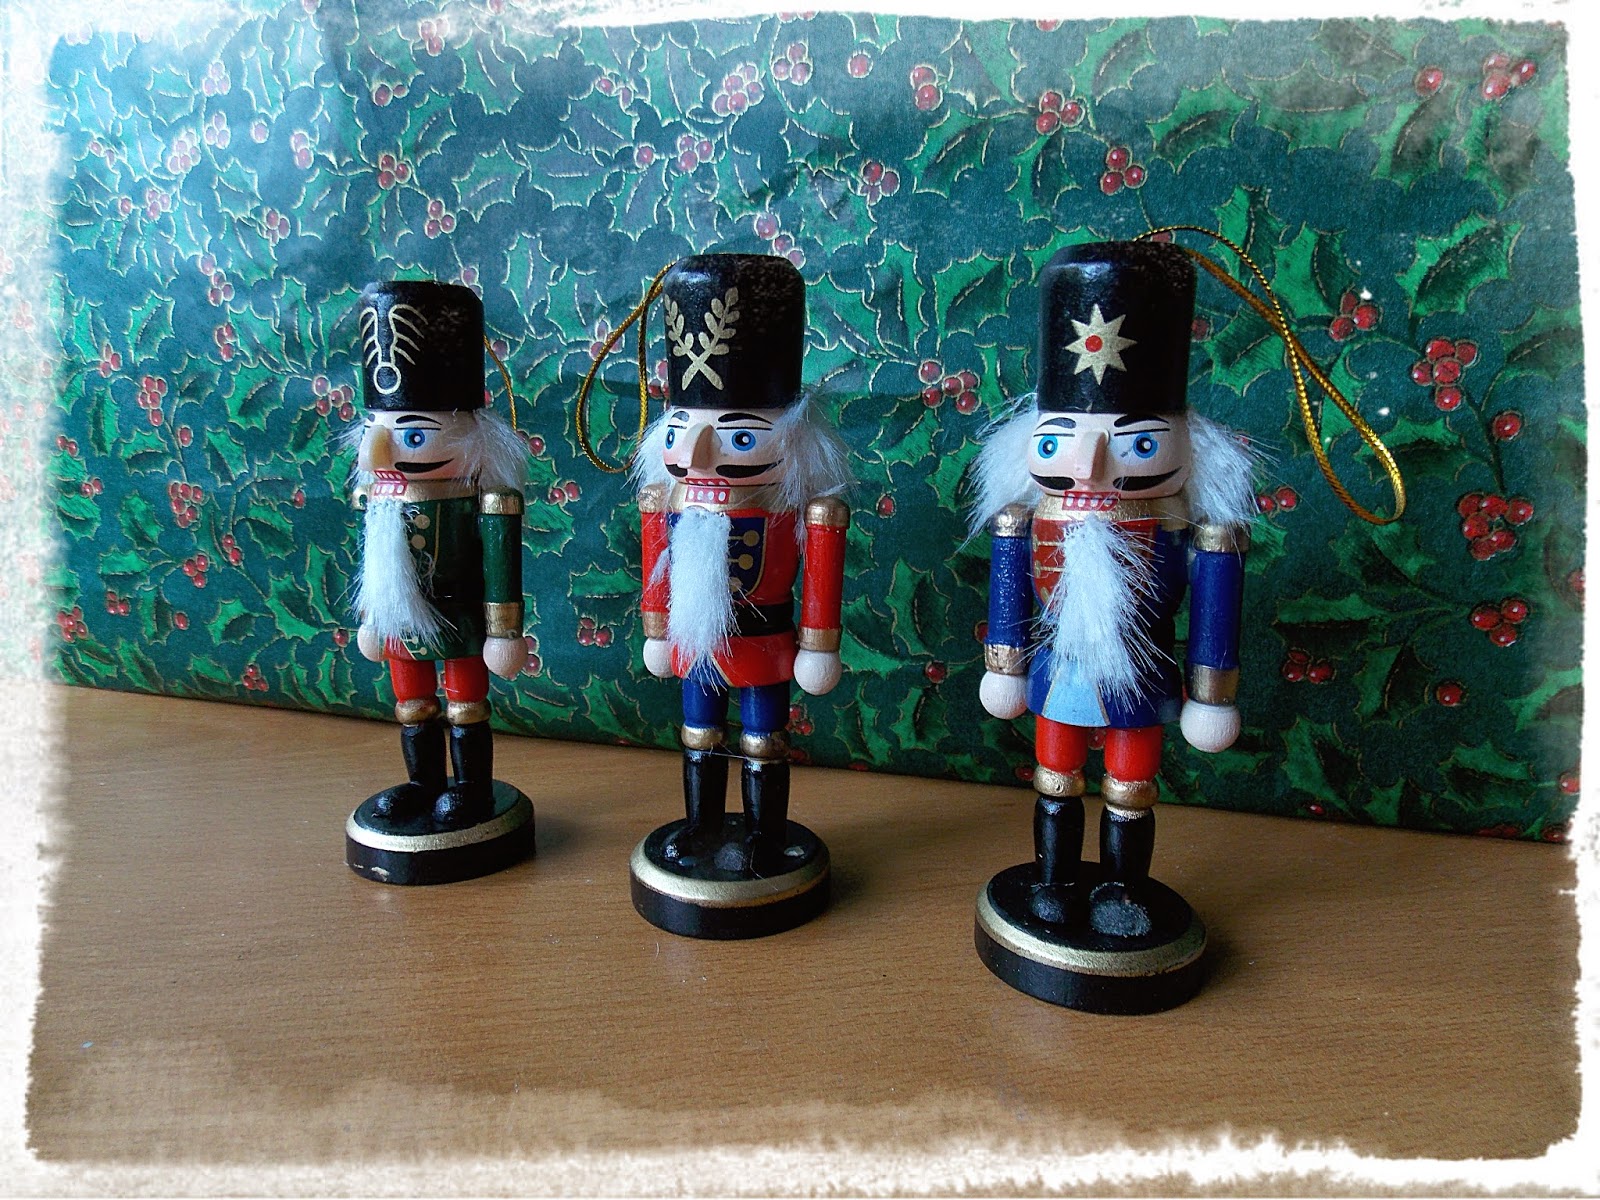 |
| Here are the small nutcrackers fresh out of the package. The first step is to rip off any ornamentation that is not desired, especially the hair. Hair can usually be pulled off easily and saved to be replaced after you repaint your figure. |
 |
| Press the Creative Paperclay onto the nutcrackers to form simple shapes for your desired themes. Nutcrackers are usually stiff and have clean, simple shapes. In this example I chose a male and female gnome and a football player. Once your new clothing is sculpted allow the figure to dry overnight. When the figure is dry, lightly paint any areas that will need to be repainted with gesso. In this case I covered the original uniforms and the female's face (since I didn't want her to have a mustache!). |
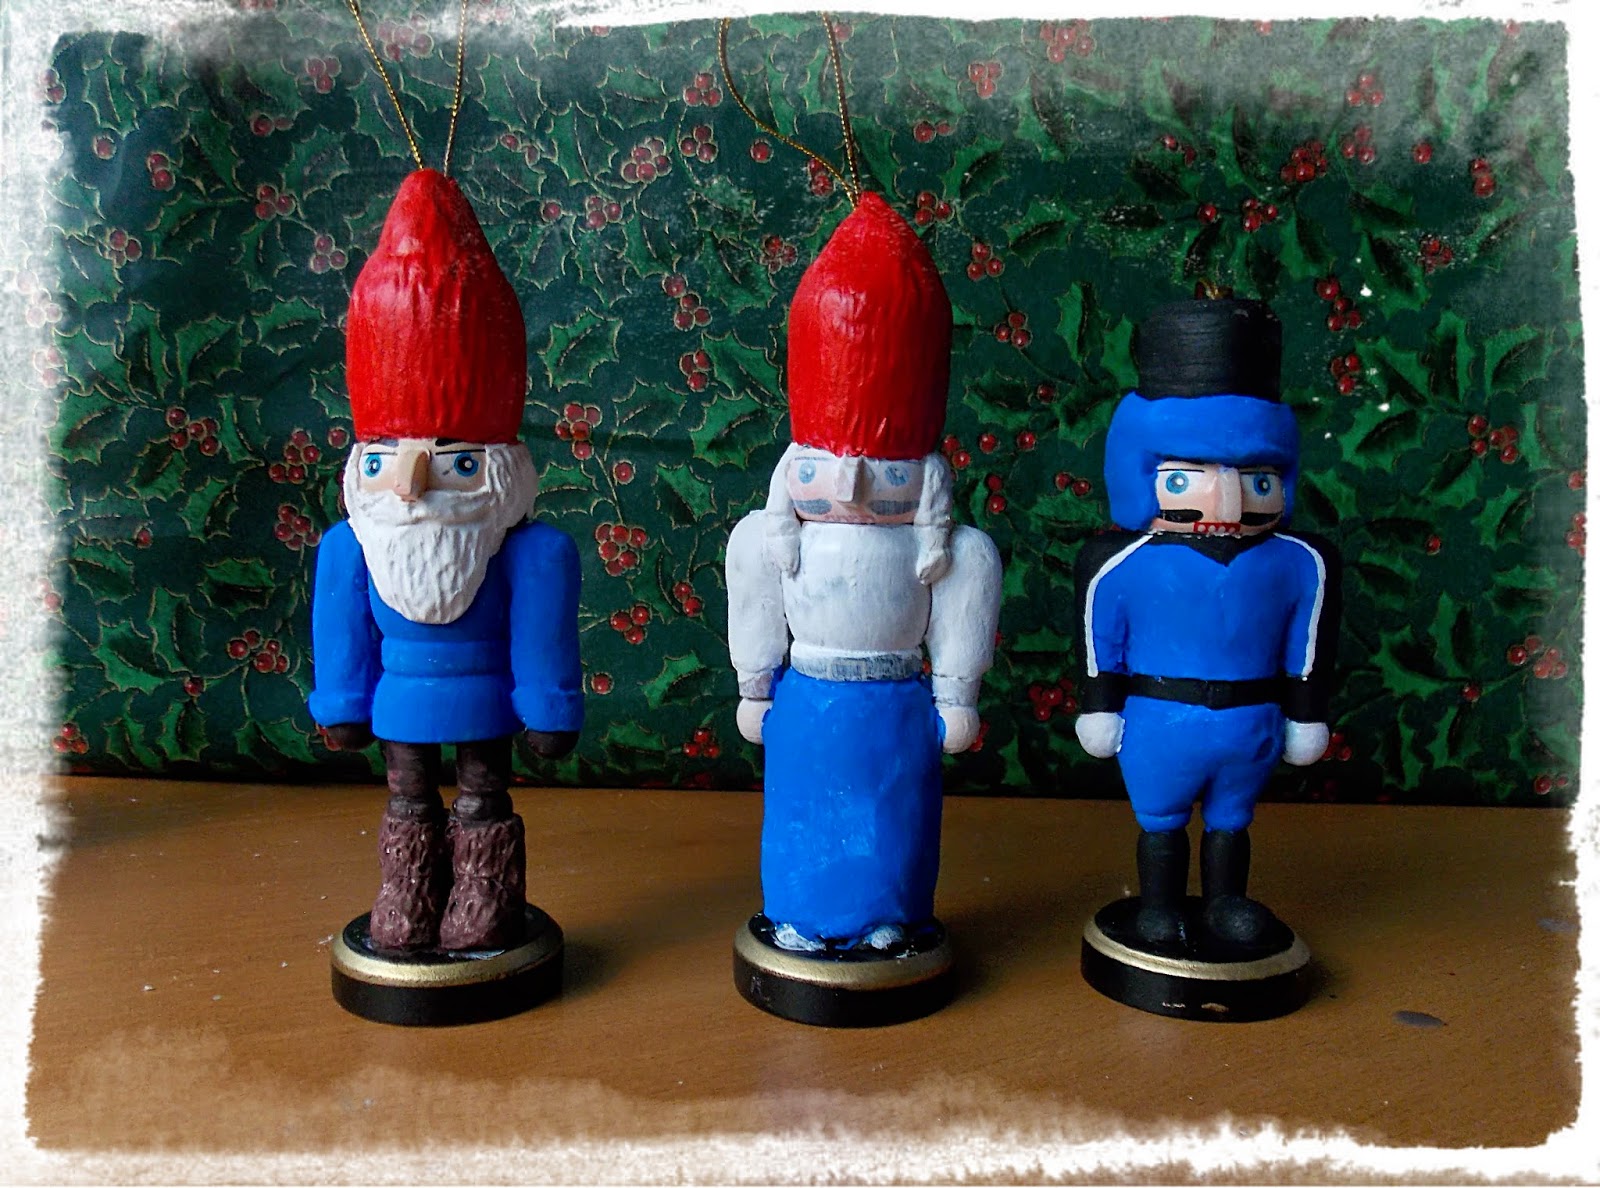 |
| Use your acrylic paints to paint the new clothing and faces. |
 |
| Here are the newly transformed figures! The gnomes will be handy gifts and the football player is now proudly representing my daughters' high school football team. |
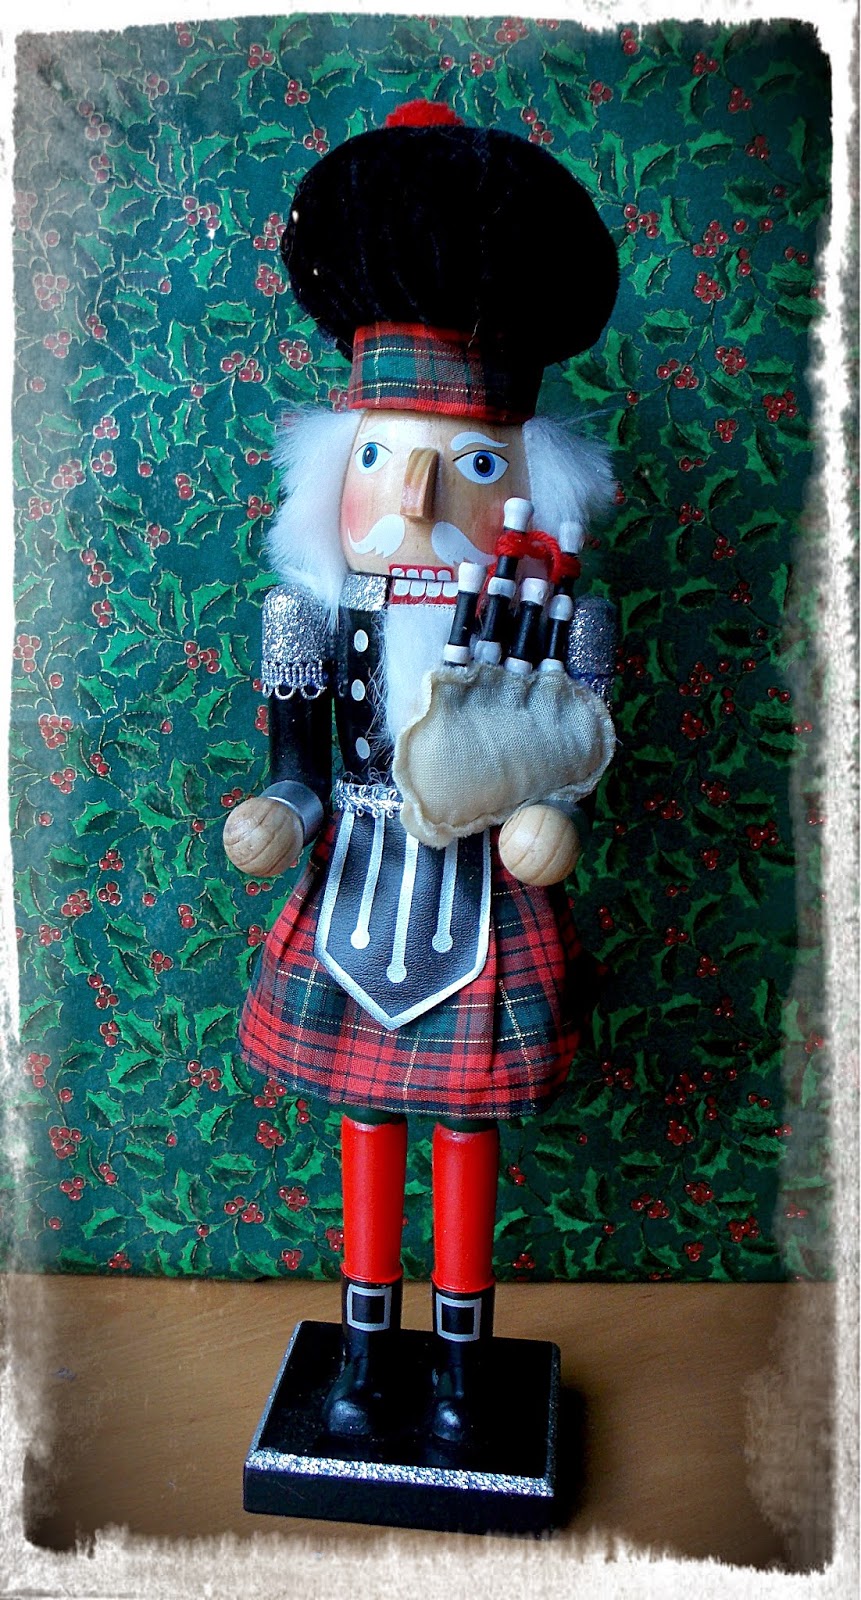 |
| If you would like to tackle a larger project, this is a 14-inch nutcracker. This fine gentleman was stripped down first and is on his way to an Alice in Wonderland makeover. |
 |
| Here he is with all of his unnecessary items pulled off, ready to be transformed. |
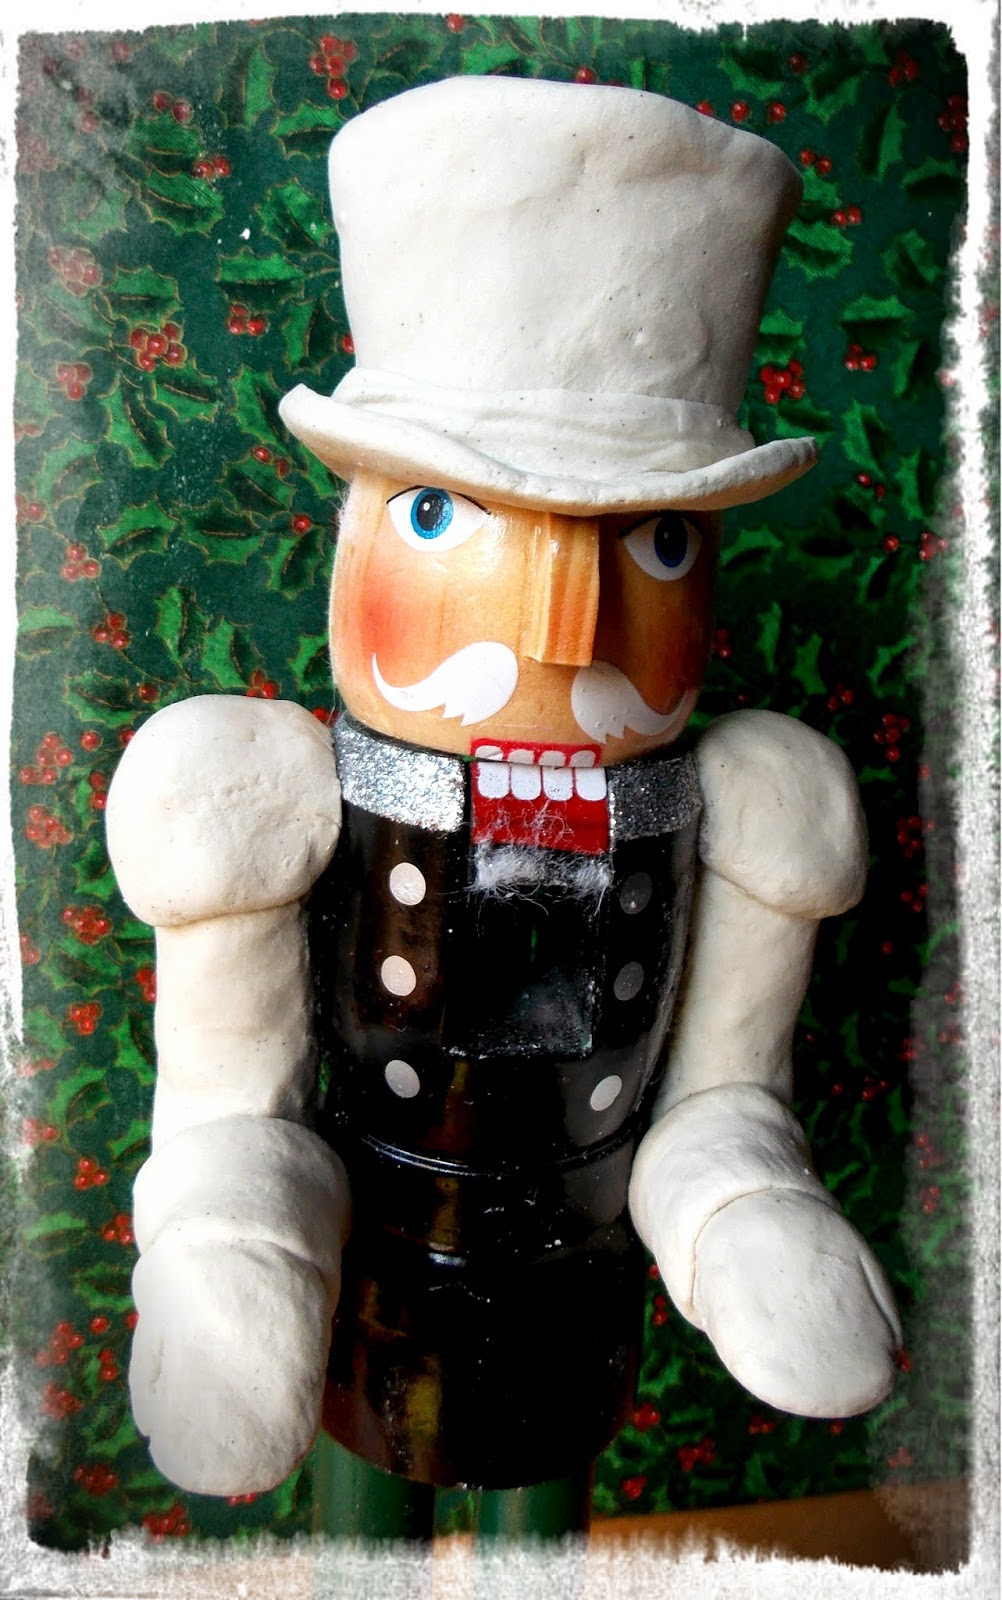 |
| I pressed on a simple Mad Hatter style hat and bulked out his arms a bit. |
 |
| I decided I wanted him to have a longer coat so I used aluminum foil to fill in some space so I would not have to use as much clay to lengthen the jacket. I also wanted some more substantial looking boots. |
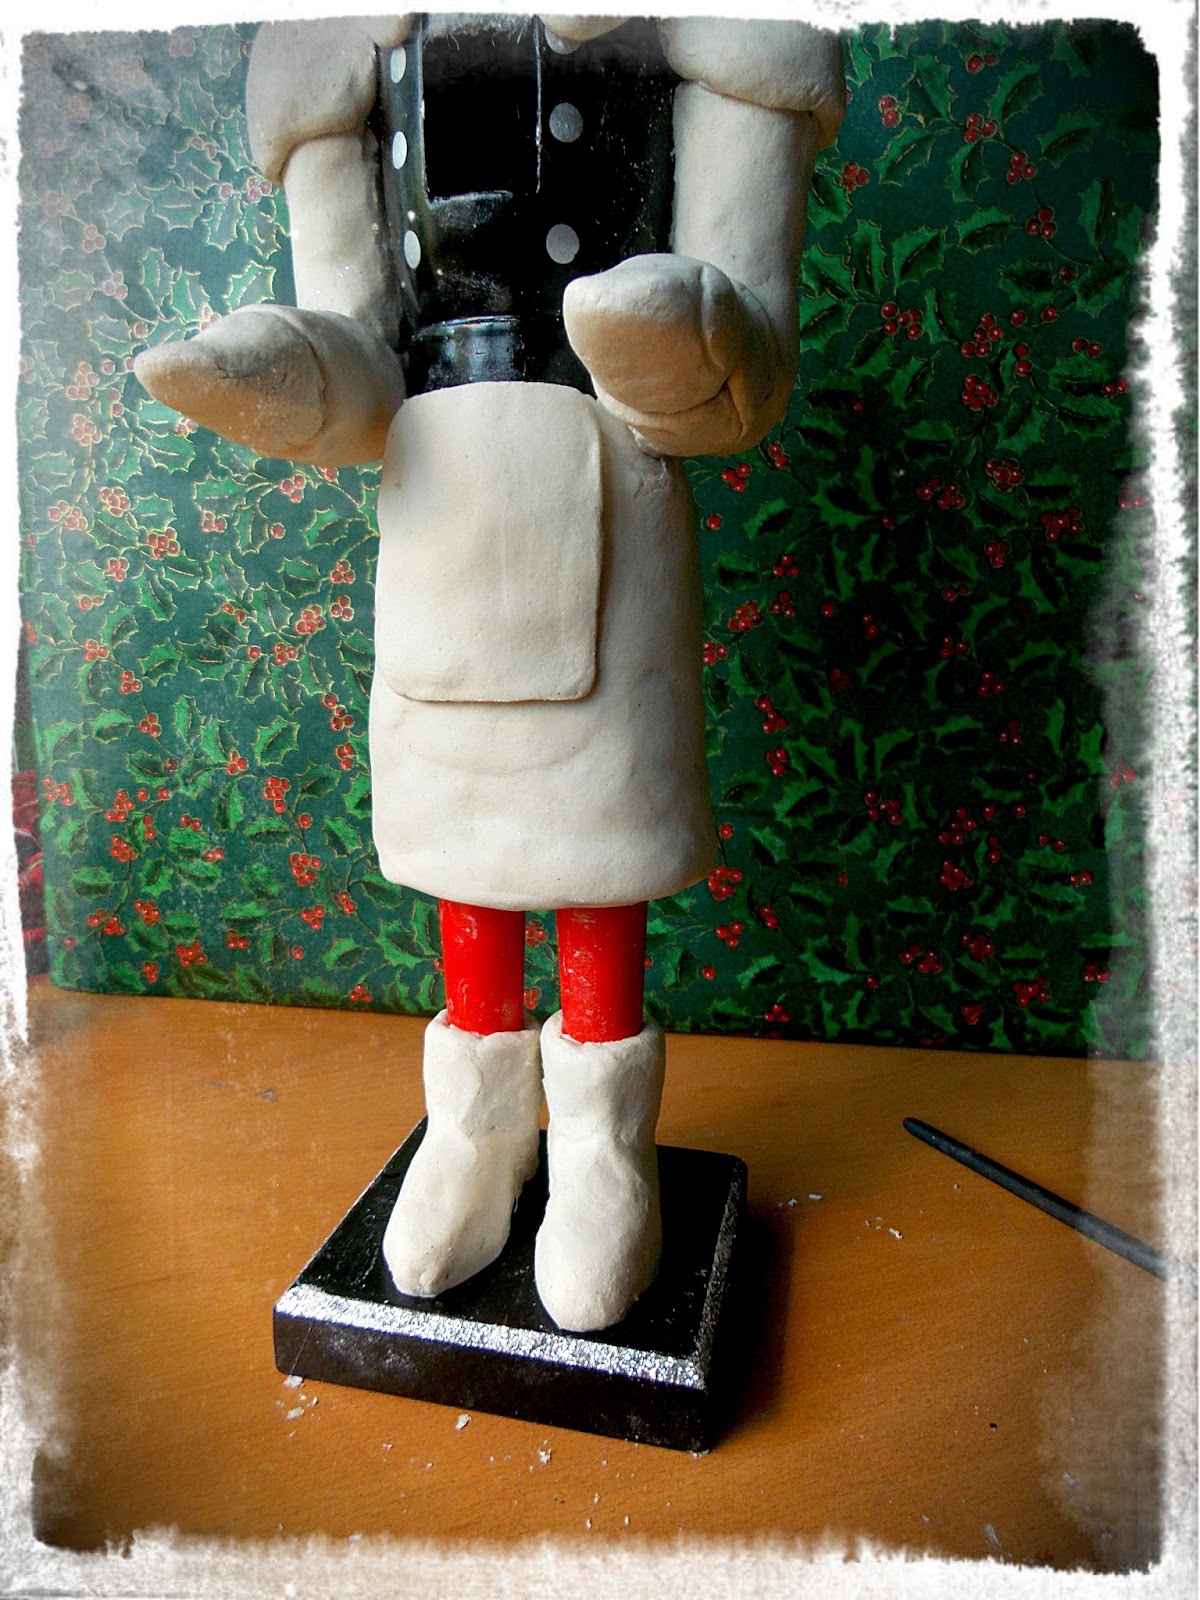 |
| Here is the new jacket and boots. I allowed the nutcracker to dry overnight and painted any exposed paint with gesso. |
 |
| Once the Creative Paperclay and gesso had dried, I painted the basic clothing. |
 |
Details make all the difference in the final piece. In order to get a little more Alice In Wonderland feel, I added a bit of the Queen of Hearts, the Cheshire Cat's smile, some mushroom cap sleeves, some beaded hat pins, the "Eat Me" cake and "Drink Me" bottle, and a few of my favorite quotes. You may add a protective coat of varnish to preserve your work, too. I replaced the hair with a bit of new faux fur, but you should be able to reuse the hair you pulled off initially.
These are just a few ideas of what you can create. You can transform your nutcracker to fit any person- think of their hobbies, interests, occupations, etc. You may want a nutcracker to compliment your decor or have one that has been beaten up a little over the years that you want to make new again. A little Creative Paperclay and paint can transform that dollar store or tired old nutcracker into something you can love for years to come!
Think big, be creative and Happy Holidays! |


